
HPC Software Carpentry - Lesson 2 - BASH fundamentals
Learning Objectives
In this lesson you will learn:
- What is a UNIX command
- How to create, access and navigate directories using bash
- How to create and modify files with nano
- How to transfer files between your local machine and the HPC with FileZilla
Interacting with the JCU HPC
UNIX and UNIX commands
In Lesson 1 we learnt how to access the JCU HPC via an SSH (Secure SHell) client through the terminal on Mac or Command Prompt on Windows. We will start this lesson assuming that you have just logged in into the HPC. If so, your terminal window should have the following prompt:
[jc000000@ln1:1 ~]%
This states your login name (the jc… part) and the host name (ln1:1). The ln part stands for the login node 1 (remember the JCU HPC has 2 login nodes, as we discussed in the first lesson of this series).
The HPC runs on UNIX, which is a particular Operating System, just like Mac and Windows. The peculiarity of UNIX is that it is Multi-User and Multi-Tasking, meaning that multiple users can have multiple tasks operating simultaneously. The main way to interact with a UNIX system is through commands. These commands usually follow the below structure:
[jc000000@ln1:1 ~]% head -n myfile.txt
Where:
[jc000000@ln1:1 ~]%is the command prompt. In the code below I will simply refer to it as ‘%’ for simplicity.headis the command we want to run. The UNIX shell will thus try and find a program called ‘head’ and execute it-n 5is an option on how to execute the ‘head’ program with a value, 5, provided to that option. These options are used to alter the default behaviour of the commandmyfile.txtis the argument taken as an input for the program. In this case a .txt file
Just like in R, these commands are case sensitive!! So head and Head will mean two different things. Make sure you use the right lower or upper case (this is a more common error than you would think when starting and even later on!).
BASH language
The default ‘shell’ (i.e., command/scripting language) for UNIX command is bash, or the Bourne Again SHell. You do not need to understand in detail what a shell is ( I don’t :S ). For now simply think of it as the language you will use to interact with the HPC. In the rest of this lesson we will go over some of the main fundamental bash commands used to navigate your folders and files, create folders and files, and conducting other routine tasks within the HPC.
Bash fundamentals
To start familiarising ourselves with the HPC, we will start with some fundamental commands that you will use on a daily basis.
First of all, let’s start to understand where we are, and let’s type the pwd command (which stands for print working directory). This returns /home/jc000000/, telling us that we are in a folder called jc000000 (where jc000000 is our JCU id). This is our home directory. This is important, remember this for later.
If we want to see what’s in our home directory at the moment we can type ls, for ‘list files’. If you just created your JCU HPC account this will not return anything as you currently have no files.
Now let’s gather a bit more information. If we type hostname we are presented with either ln01 or ln02, referring to either of the two JCU HPC login nodes. Additionally, we can retrieve our username with whoami, which returns our jc000000 ID.
Let’s now imagine that we want to start our own project. We then want to create a folder to store all project related files within. To create a folder (i.e., directory) we use the mkdir command.
% mkdir cool_project
If we run the ls command again, this time it will show the folder we just created.
% ls
cool_project
The ls command can take a number of additional options to modify its default behaviour and thus the output. For instance, I often add the -lh options, which stand for long (l) and human readable (h). This time the output will contain more information like permissions in the first column, the file size, the month date and time it was created and more.
% ls -lh
drwxrwxr-x 2 jc274669 jc274669 10 Mar 24 14:40 cool_project
Getting help on a command: man and –help
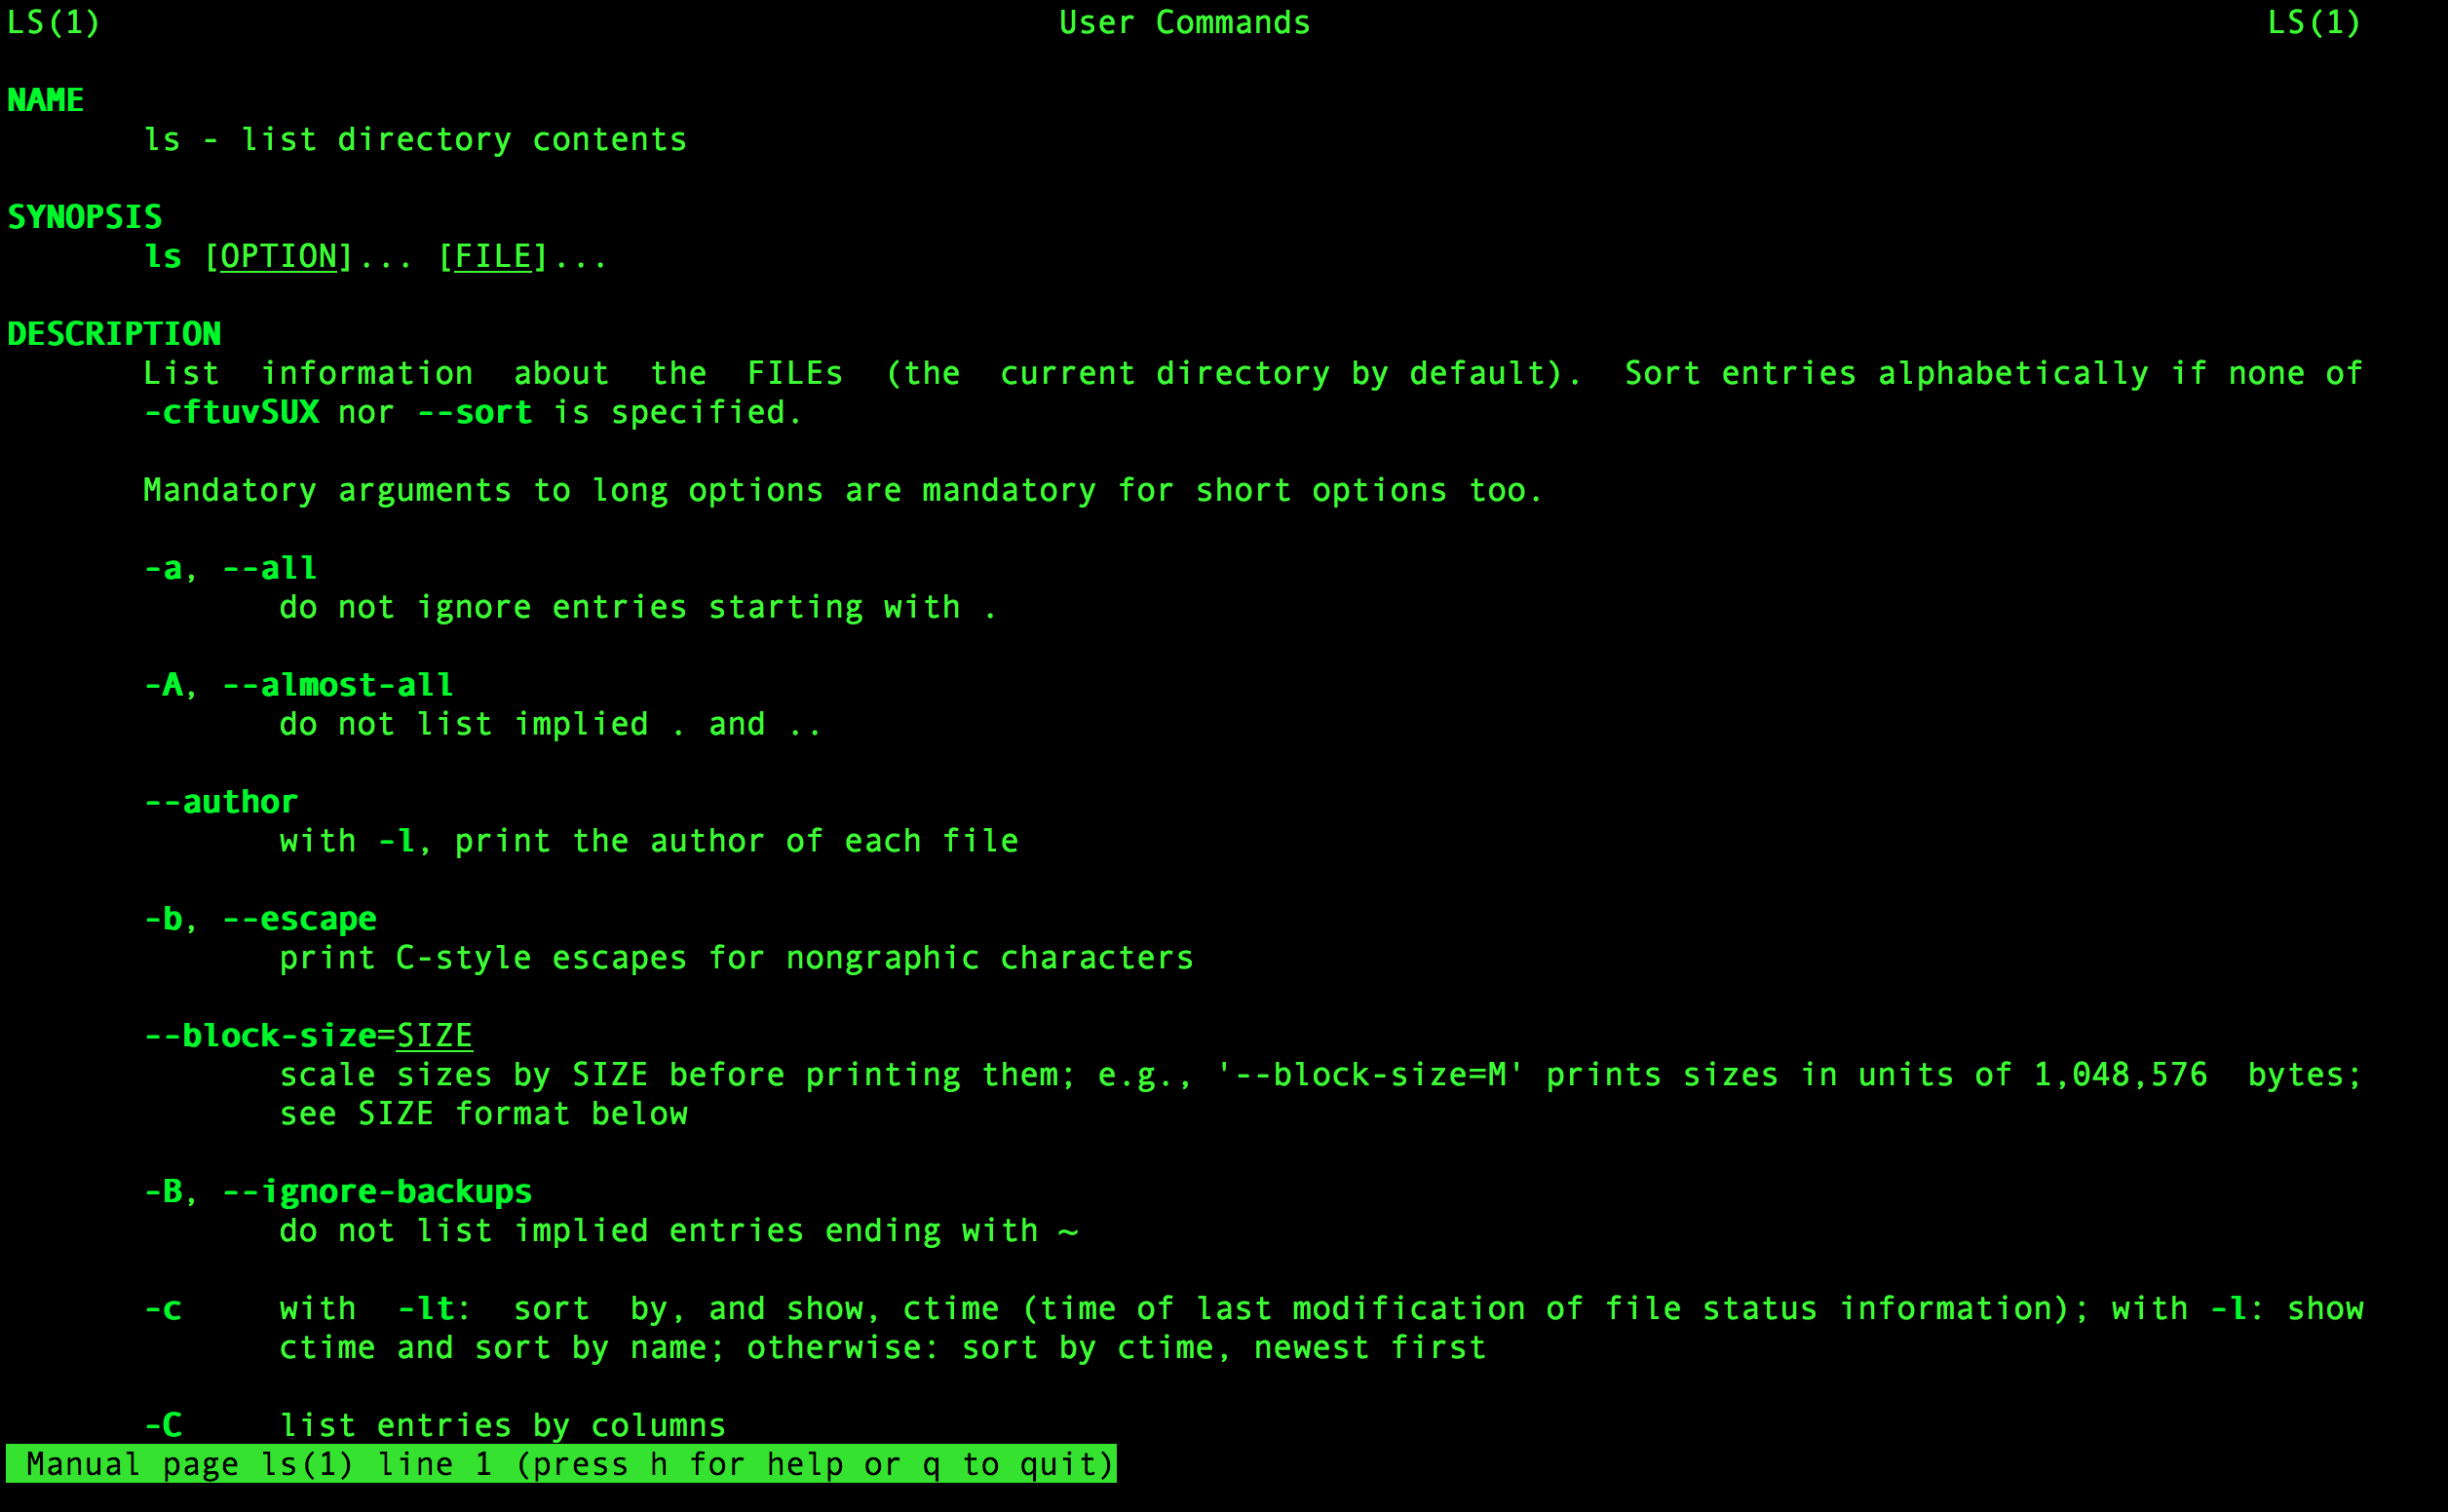
If you are ever curious of what additional options might exist, or how to use a command, there are two ways to go about it. The first is using the command man, for manual, which will open the full manual for the command of interest.
% man ls
Alternatively, you can use the --help option for a command to get a quick guide on how to use it.
% ls --help

Moving between directories
There is one final command that you will need to move between different folders/directories, which is the cd command, for ‘change directory’. So let’s change our directory to our project folder.
% cd cool_project
And then make some folder within to organise our different files. For instance we might have a folder for our scripts, one for our raw data and one for figures we produce.
% mkdir scripts
% mkdir raw_data
% mkdir figures
We can check that they were creating by listing files in our current directory
% ls -lh
figures raw_data scripts
And we can check we created these folders in the right directory by checking where we are with pwd
% pwd
/home/jc000000/cool_project
Finally, we might be done working on this project for now, and we decide to move back to our home directory to work on something else.
We can achieve this in two ways:
By changing directory to our ‘parent’ (i.e., the folder above, or containing our current directory) using the special symbol ...
% cd ..
Or by using a special symbol that refers to our home directory regardless of where we are: ~. This is very useful whenever we want to use absolute paths, as in paths that are the same regardless of where we are running the command from. The usefulness of this will become more apparent once we start writing scripts more.
% cd ~
We can check that we are back to our home directory with the pwd command.
% pwd
/home/jc000000
Working with files
Now that we have explored how to navigate across and create directories, let’s start populating them with some of our own files. It is good practice to include METADATA files in our project folder. These files state what the folder contains, how it was produced and modified, and what the different files within the folder are meant for. So let’s create our own one. For simplicity, today we will be using nano.
First I change my directory to my project directory
% cd ~/cool_project
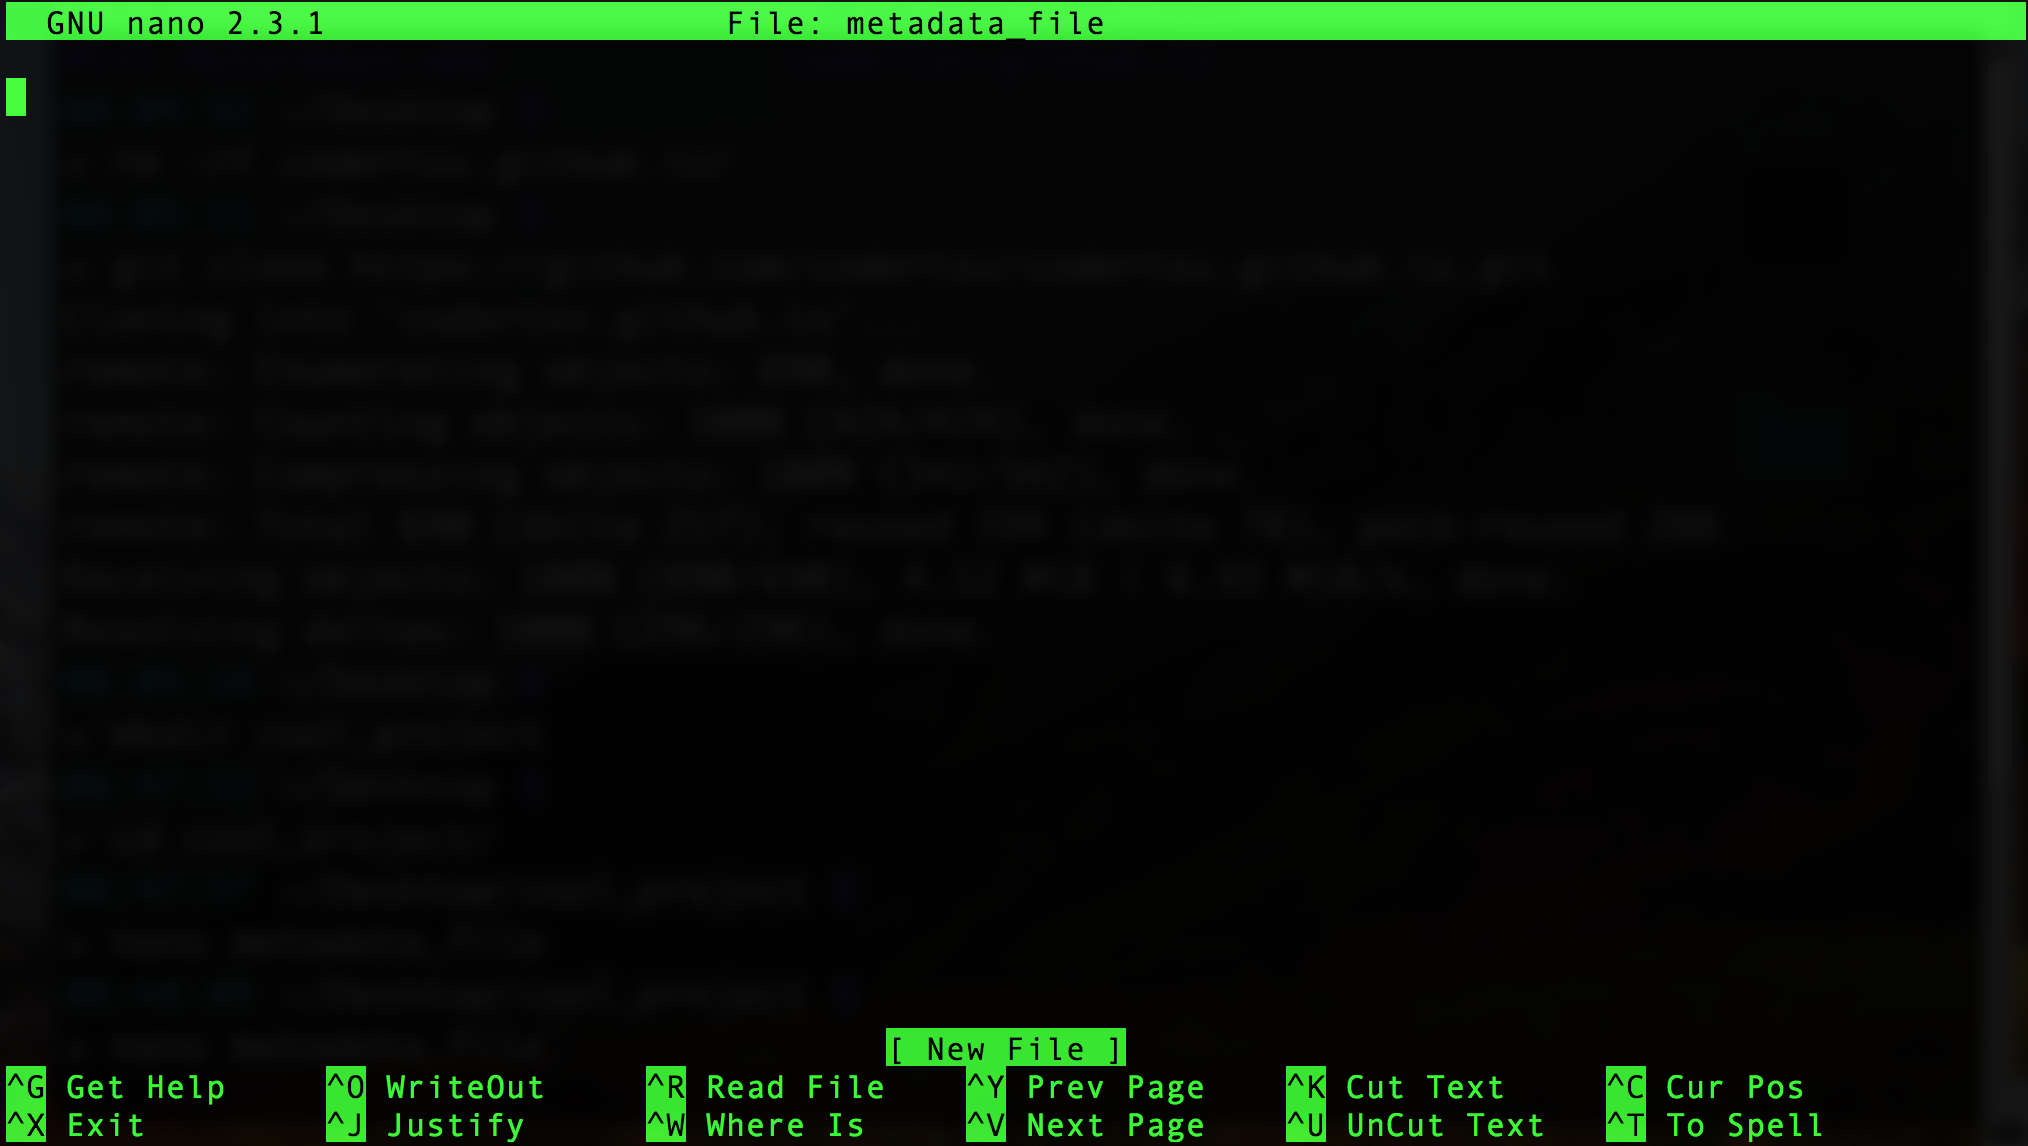
Then we create a file with nano by typing nano followed with the name of the file:
% nano metadata_file
This not only creates the file but also opens it. In particular it opens an empty text file, where we can start typing our metadata information.
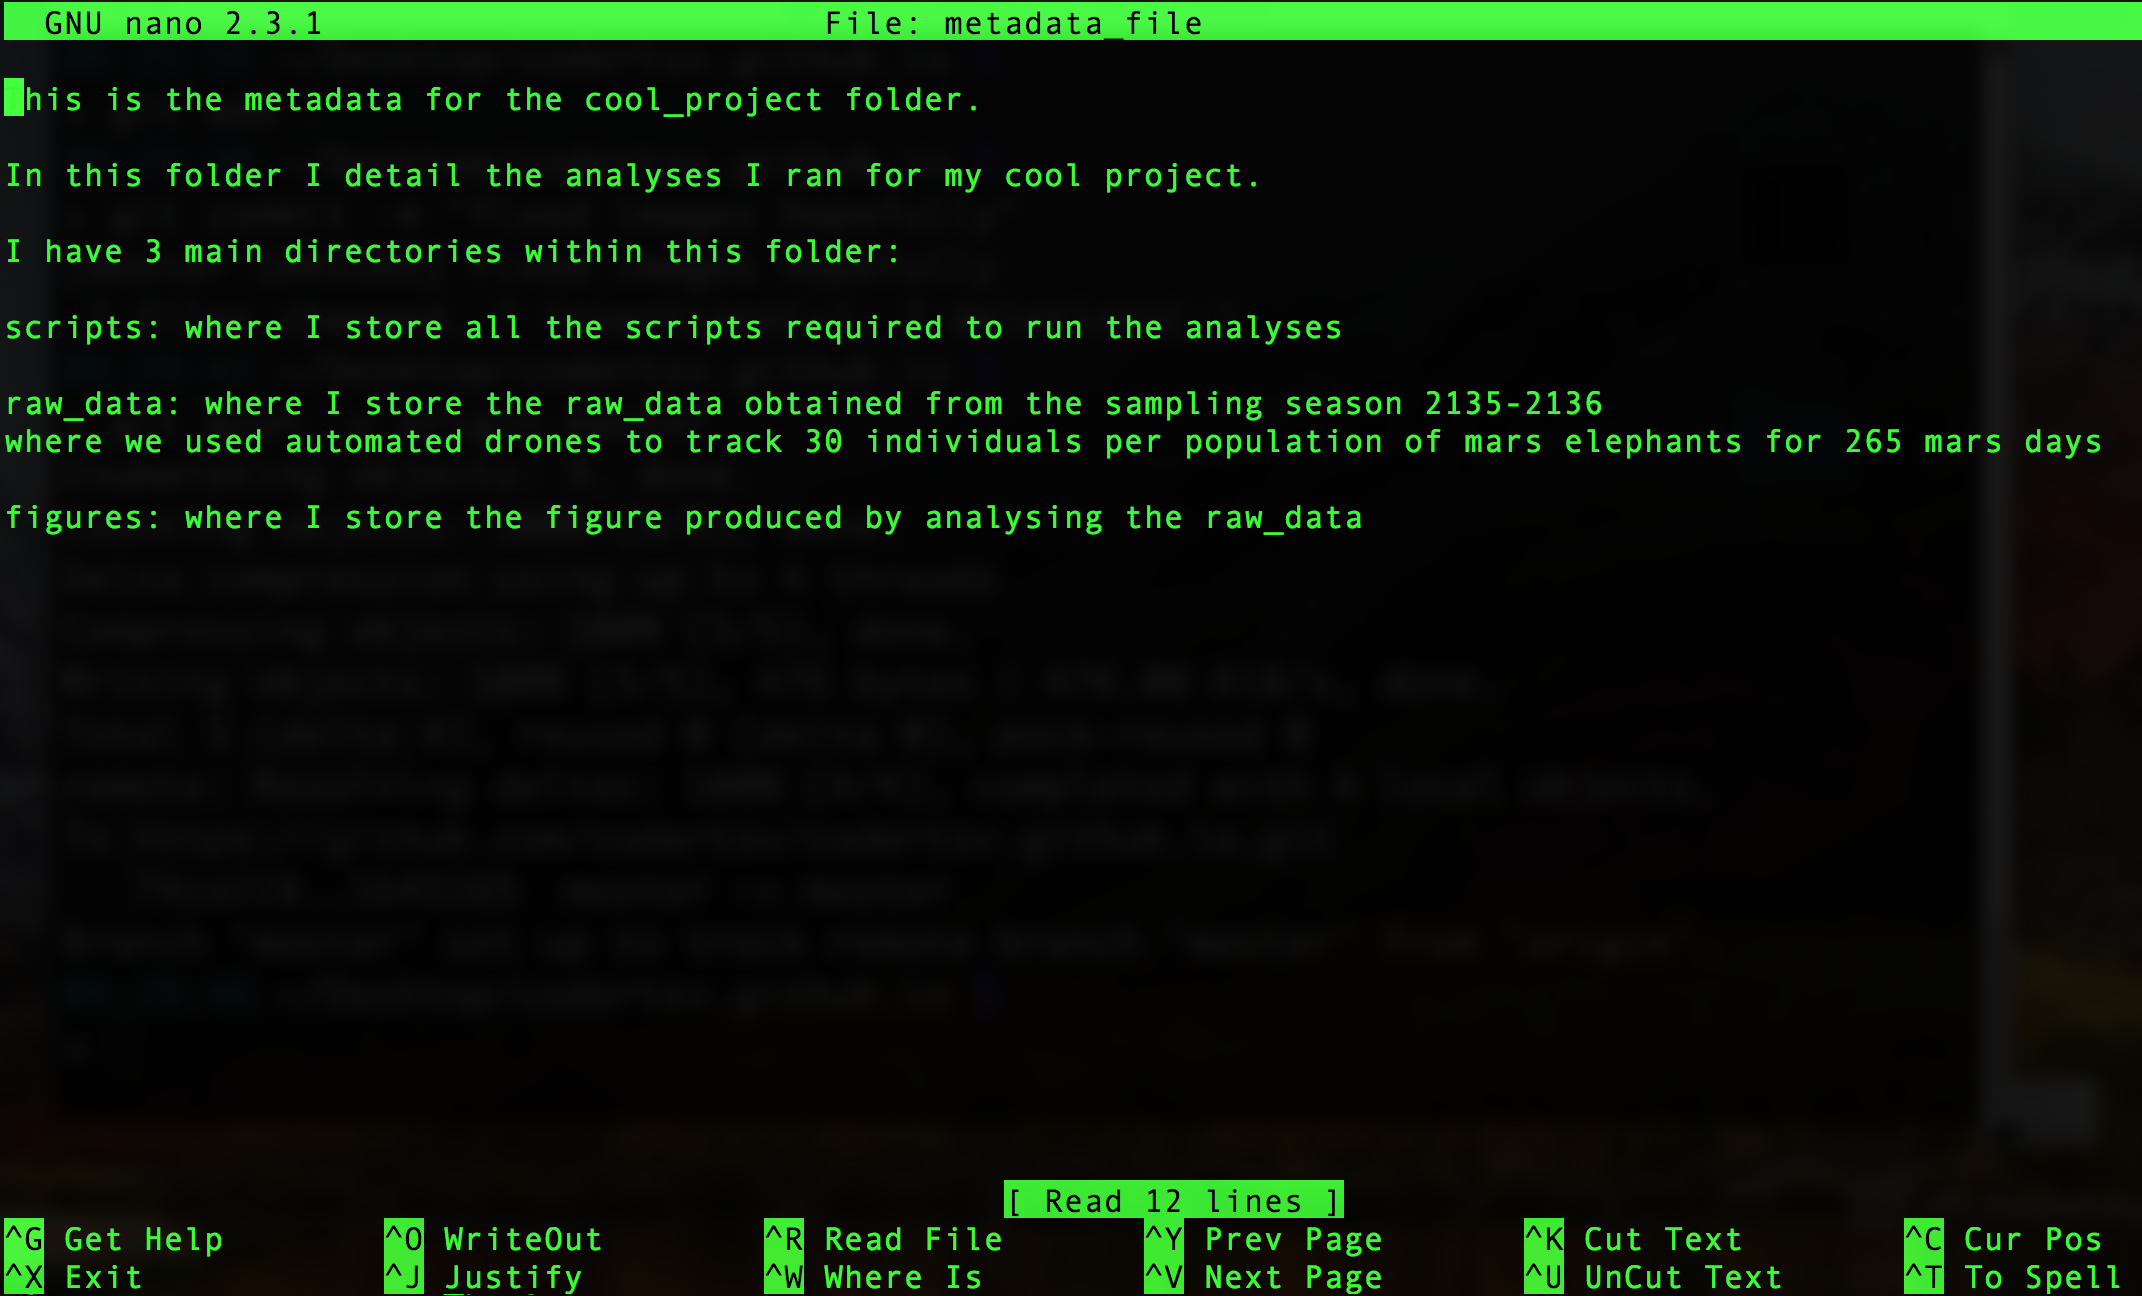
So I might type a quick description for my folder and folder structure.
Note that nano is not a point and click text editor. You can only move around with arrows. This can be a bit clunky but it’s okay for small files. For bigger files you might want to learn some of nano’s shortcuts or see what other options you might have available (more below).
Once you are done with your nano file you can close it with ctrl+X. It will ask you if you want to save. To save press the Y key (for Yes). You are then given the chance to change the file name. If you want to keep as is just press enter.
Now if we look in our directory with ls we can see the file we just produced.
% ls
figures metadata_file raw_data scripts
Note that files will have a different colour from folders, highlighting their difference.
Let’s now explore a few commands to interact with files. If I want for example to remind myself what a file contains without having to open it I can simply use the cat command to read it non-interactively like so:
% cat metadata_file
This is the metadata for the cool_project folder.

In this folder I detail the analyses I ran for my cool project.

I have 3 main directories within this folder:

scripts: where I store all the scripts required to run the analyses

raw_data: where I store the raw_data obtained from the sampling season 2135-2136
where we used automated drones to track 30 individuals per population of mars elephants for 265 mars days

figures: where I store the figure produced by analysing the raw_data
This file is starting to get long, and maybe I want to see only the first 4 or the last 4 lines without clogging up my terminal. I can use head and tail respectively:
% head -n 4 metadata_file
This is the metadata for the cool_project folder.

In this folder I detail the analyses I ran for my cool project.
Tail follows the same structure.
Now let’s say I create a new project, and I want to re-use the metadata file to save myself some writing. I can either copy the file with cp or move it there with mv.
First, I create the new project folder.
% mkdir ~/new_project
And then I copy my file to that folder with:
% cp metadata_file ../new_project/
Note that I had to add ../ in front of new_project as I was currently in the ‘cool_project’ folder. Bot cool_project and new_project are within my home directory, so by using ../ I first changed the directory to where I want to copy the file to the parent directory, in this case my home directory, and then with new_project I changed to my desired folder. This can be a bit hard to figure out at the start if you are unfamiliar with programming, but it will be very useful later on, so I recommend you play around with it a bit and try and create folders in different directories and move them around with cp or mv.
The move command mv has the same command structure as cp but it moves the file altogether (just like dragging your file from one folder to another on your laptop).
Now I realise maybe that my new_project is not as cool as my previous one, so I decide to delete it. I might start by deleting its contents. To do this I need to use the rm command. This command is very powerful, and with great power comes great responsibility. Just as a cautionary tale, I once ran rm from the wrong directory and ended up deleting a whole project folder (3 months of work) from the HPC. Once something is deleted on the HPC you can’t retrieve it (i.e., there is no ‘bin’ where deleted files go temporarily), so really make sure you do not need a file before removing it, and make sure to check your rm commands before running.
Now, onto deleting! To delete the metadata_file from the new_project folder I can use the following:
% rm ../new_project/metadata_file
And now I list files within new_project I can see that it is empty as nothing is returned.
% ls ../new_project/
Finally I can delete the whole directory with:
% rm -rf ../new_project
The -rf options stand for recursive (to remove the directory and all its contents) and forced (to avoid prompts before removal). Now you can see how dangerous this command can be. So please BE VERY CAREFUL when using the rm command. One option is to always run rm with the -i option, which provides a prompt before each removal that asks you if you do actually want to remove the file/directory.
Alternative file editors
The file editor I showed here, nano, is just one of the many available. Below I compiled a small list of some of your available options. At the end of the day it depends what works for you and matches with your current workflows and working style.
Here a list with some info on why you would choose one over the other
nanoto create and edit (easiest option)emacs-nw(a lot of configuration options, lots of shortcuts)viandvim(basic and difficult to use)- VSCode from your local machine (can be used to login, transfer files and edit them. see Wytamma’s post on the topic for more information.)
Conclusion
In this lesson we learnt a few fundamental commands to navigate (e.g., create, erase, change directories), as well as how to create, edit and work with files.
A list of useful commands (feel free to add onto it through our github)
Finally, I thought this would be a good place to add some general bash commands that you might find useful. If there is interest for this we can find of expanding this guide with more HPC specific commands.
File commands
ls: list files in current directoryls -lh: list files in long format (more details like size and date) and in human readable formatcd ./other_directory: change directory to ‘other_directory’pwd: print working directory. As in, where am I?mkdir: make a directory. This essentially creates a folderrm: remove a file/directory. Very powerful and thus dangerous. Never rush when using itcp: copy file/directory. Structure iscp file_to_copy copy_of_the_filemv: move file/directory. Same structure as cp.touch: create or update filenano: create or update filecat file: print all contents of filehead -n file: output the first n linestail -n file: output the last n lineschmod u+rw,g-rwx,o-rwx file: set read (r), write (w) and execute permissions for filefind pattern: find files matching the pattern
paths special characters
.stands for current directory..stands for parent directory. So if I am in the folderusername/working folderand typecd ..it will change the current working directory tousername.~stands for home directory. On the JCU HPC this refers to your jc00000 directory. This character is useful for specifying absolute paths in your scripts.
Environmental variables and aliases
export VAR='value': set a variableecho $VAR: print a variablealias ls='ls -lh': set an alias command (e.g., now every time i typelsit will be interpreted asls -lh)
Searching
grep pattern file: search for ‘pattern’ within ‘file’
Other useful tools
man command: show the manual for commandcommand --help: get quick help on command
Compression
gzip file: compress filegunzip file: uncompress file
Server info
whoami: shows the user’s usernamhostname: shows the current host